Compass Calibration - Vector Nav
To calibrate the Vector Nav compass, follow these steps:
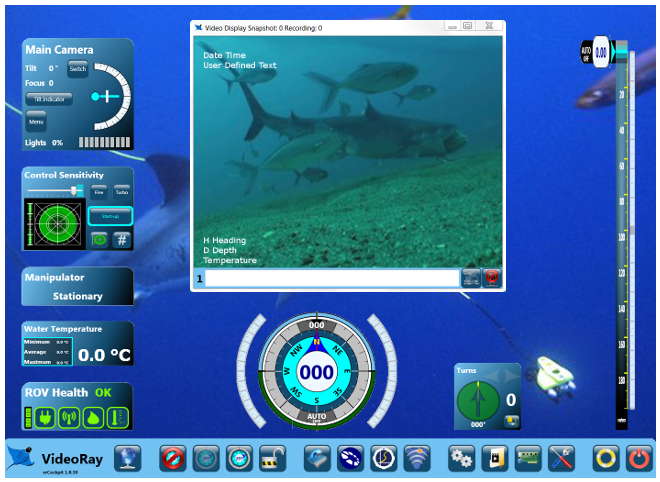
- Start VideoRay Cockpit.
- Click on the Engine Room button on the Control Bar.
- Unlock the controls.
- Click on the Calibrate Compass button, which has the magnet icon on it.
- In the window that opens, select a Virtual Port (recommended Port is COM17). Set the baud rate to 115200 if it is not already.

- Minimize the Engine Room
- Start the Vector Nav Sensor Explorer from the Windows Start Menu.
- Select a Virtual Port (recommended port is COM18). Set the baud rate to 115200 if it is not already.
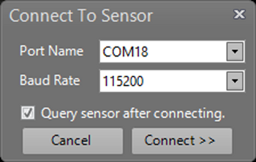
- Ensure Query Sensor after connecting is checked.
- Click on "Connect."
- Right click on Sensor A in the upper left pane, and select Tasks->Perform Hard/Soft Iron Calibration.
- In the window that opens, click on Start Calibration.
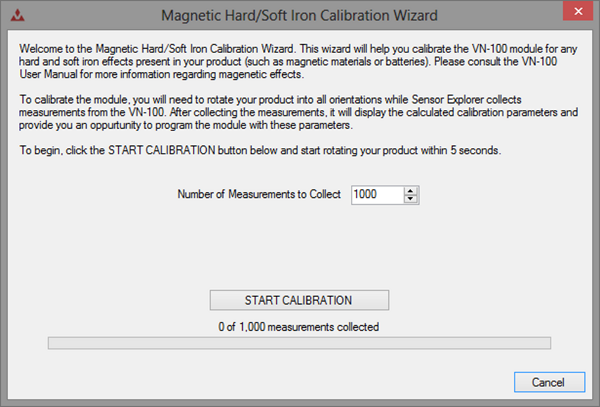
- Slowly rotate the ROV so that it passes through all orientations. The easiest way to do this is to think of the dome as a pain brush and you are painting the inside of a sphere. Start with the ROV facing straight down. Lift the ROV in an arc until it faces straight up. Rotate 15 degrees. Lower the ROV to face straight down again. Rotate 15 degrees and repeat this process of up and down arcs until you have rotated a full circle.
- Continue until the measurements have been completed and "Write Parameters to Chip" button appears.
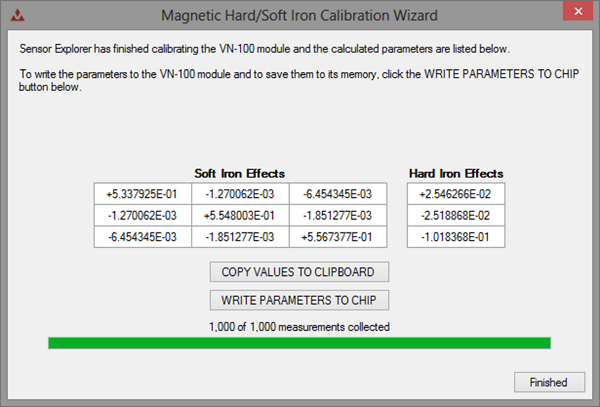
- Click on Write Parameters to Chip button.
- Close the Vector Nav Sensor Explorer.
- Expand the Engine Room.
- Select None in the Port selection of the Compass Settings Window.
- Close the Compass Settings window.
- Close the Engine Room.
- Check the calibration against known source.
 Support for the Vector Nav compass requires VideoRay Cockpit version 1.8.35 or higher and ROV firmware version 2.6.4 or higher. Support for the Vector Nav compass requires VideoRay Cockpit version 1.8.35 or higher and ROV firmware version 2.6.4 or higher.
|