|
Dive OperationsAfter all of the pre-dive checks and tests have been completed successfully, you are almost ready to commence the dive. But, there is one more issue to address that could affect the performance of the ROV. The ROV is designed to be operated in a near neutrally buoyant configuration, so the last step before launching your VideoRay is to check the buoyancy, and adjust the ballast if necessary. For most operations, the buoyancy is optimal when the top of the float block is even with the water surface and the ROV is level. If the ROV is too buoyant or too heavy, the vertical position may be hard to maintain or control.
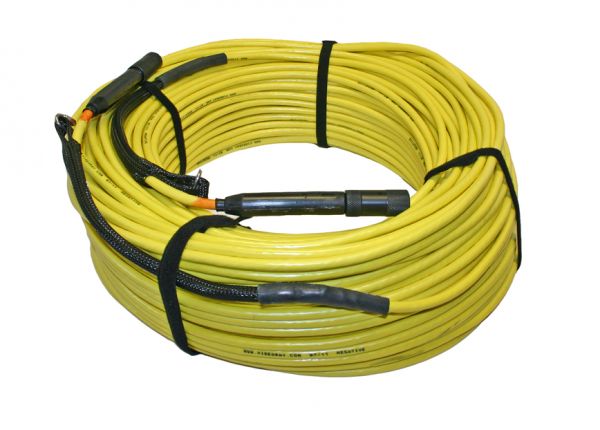
Buoyancy Check and AdjustmentTo determine if the buoyancy is correct, lower the ROV and at least 3 meters (10 feet) of tether into the water. You can lower the ROV by the tether - it will not hurt the tether because there is Kevlar in it. Observe the ROV in the water - it should not be floating too high or sink. It should also be floating level and not tipped to one side or pitched up or down. If the ROV floats too high, you will need to add some ballast weights. If the ROV sinks, you will need to remove some ballast weights. If the ROV is not floating level, you can change the locations of the weights. The buoyancy can be adjusted by adding or removing the supplied ballast weights to the vehicle. To open the skid pods, turn the ROV upside down. Press on the buttons on the sides of the pod, and lift up on the pod shell. The weights can be added to or removed from the slots by hand. For most operations, the weights should be evenly distributed to provide a neutral attitude of the ROV in water. Commence the DiveOnce the buoyancy has been adjusted the ROV is ready to launch. Lower it into the water and operate the controls to maneuver it.
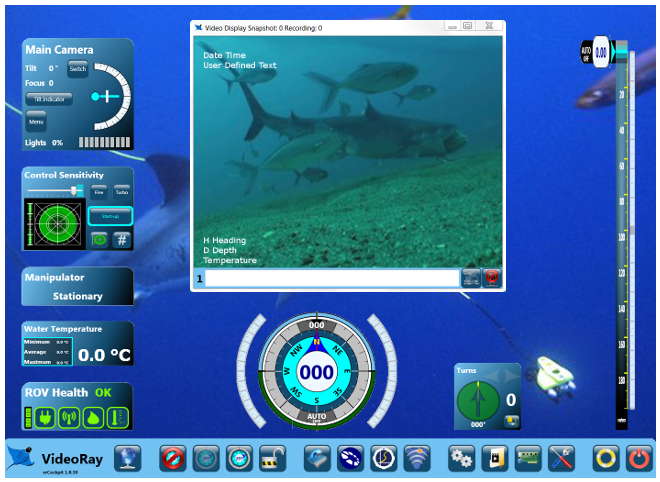
For your first dives, practice until you are comfortable operating the controls without looking at them and you are able to control the ROV with some precision.
|
Practice Makes PerfectDeveloping the skills to operate your Pro 4 like an expert may take some time. Practicing on a regular basis is highly recommended. |