ImagesIncluding an image in an HTM page is fairly simple, but first we need one to include. The most likely images you'll need while making a document are pictures of relevant hardware, or screenshots of various software elements. We may need to edit the images a bit as well, but let's start with acquiring them. Taking a PictureWhile taking a photograph for a document, ensure that you have good lighting and a uniform, preferably white, background. This makes removing the background and any further editing we need to do to the picture easy. Take several photographs of each piece to ensure that there is at least one crisp picture to use. Good backgrounds and clear pictures with good lighting are critical to maintaining the professional appearance of a document. Uploading a picture to your computer will vary depending on your camera, but plugging the camera into your computer will normally allow you to open it's internal storage. Source images should be stored in the projects source folder. Taking a ScreenshotWe can also use the keyboard's "Print Screen" button to capture an image of a computer screen. This is especially useful if you need to take a screenshot of a software program. Bring up the item you'd like to capture, and then press the Print Screen button (which may vary by keyboard). This will capture the screen, which you can then paste into an image editing program like GIMP or Paint. Source images should be stored in the projects source folder. EditingThere are two primary edits you'll want to do perform on images, cropping and highlighting. CroppingIn GIMP, the crop tool allows you to select an area and cut away everything else. It appears as a small razor in the toolbar. To use it, select an area. After you make your initial selection you can pull on individual corners of your selection box to get a cleaner crop. When satisfied with your selection, press enter to crop the image. Highlighting
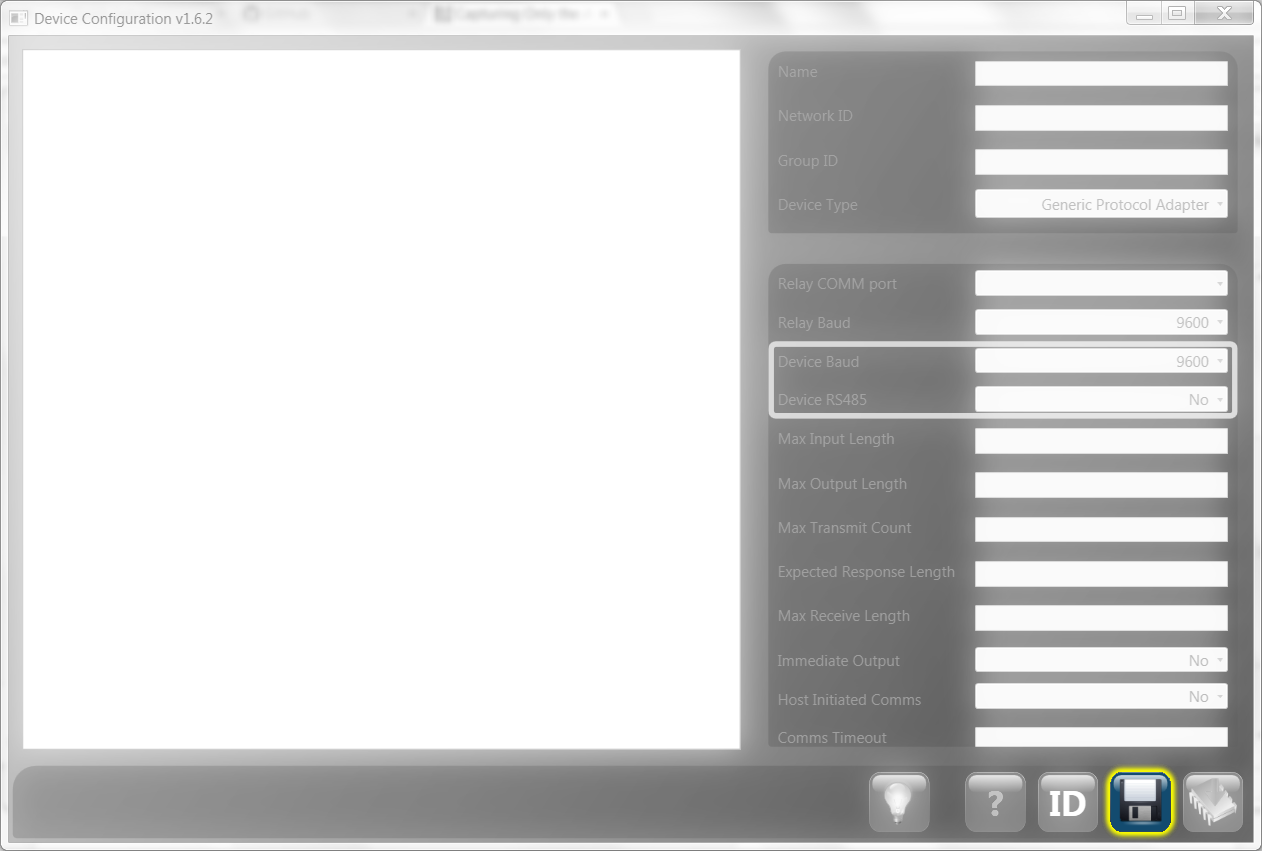
Highlighting allows us to use the shadow and color functions of GIMP to create a nice looking highlight around a section of an image we'd like to emphasize. Image highlighting in all documents should remain consistent, so there is a specific process for this.
SavingSaving in GIMP is a bit different than usual for image files. By default the image will save a .xcf file, which contains all of the metadata about how the image was edited. This is useful if you need to edit the image again at some time. If you are ready to use the image, instead you will want to go to "File" and then to "Export As." Export your image as a .png to the project's images folder. Keep the default settings for the GIMP prompts and click Export. Including an ImageNow we have an image, but it's not in the webpage yet. The format to include an image is another HTML tag, similar to the ones described in the last section. The tag below was used to display the image on this page. <img src="../../document_creation/images/con_save.png" width="650" alt="An Example of Highlighting"> The src field specifies the image location. In this case, replace "document_creation" with your own project folder, and replace "con_save.png" with your own image name. Title specifies mouseover text. Width is the width of the image in pixels. There is also a height attribute, which controls the height of the image in pixels. If only one of these attributes is set, the image will retain it's aspect ratio as it is resized. |


