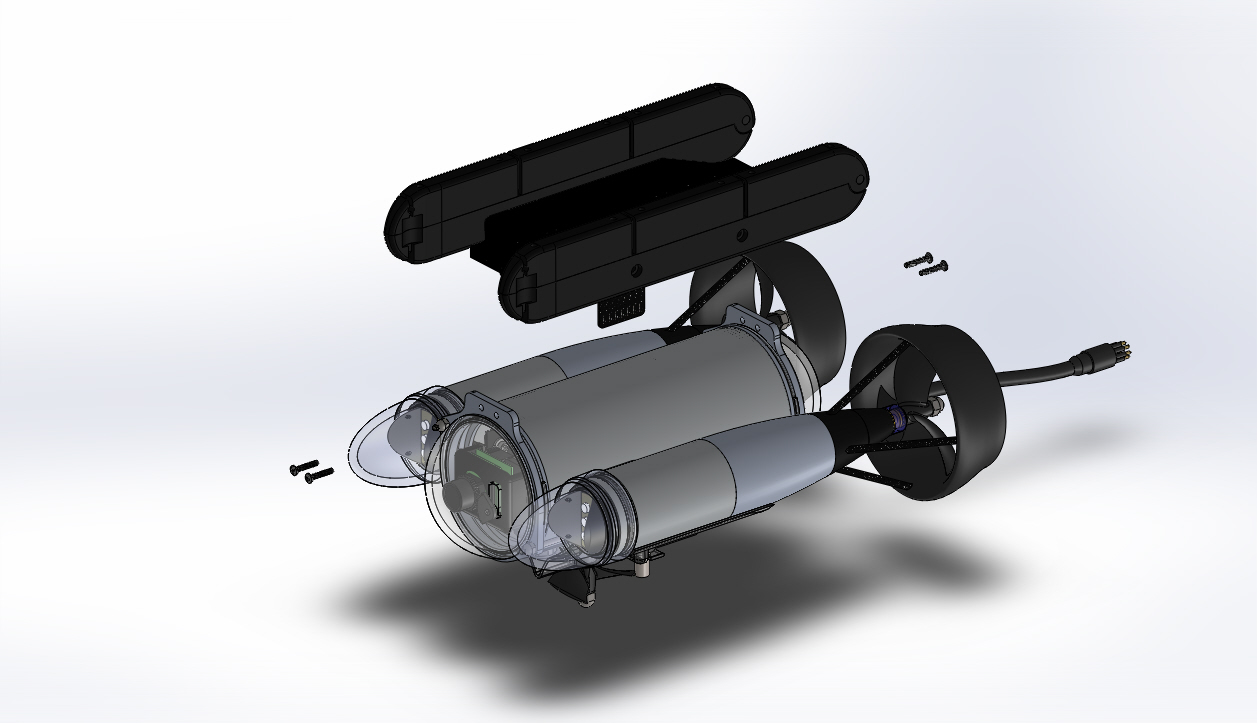
Skid Kit Removal Procedures

Time required for this step: Approximately 5 Minutes

Tools required for this step:

Parts involved in this step:

SK-PRO4-KIT Skid Kit

QuantityPart NumberPart Description
1VR-PRO4-07-0001Skid Assembly
491772A151Screw #6-32 x 3/4" Pan Head Phillips SS
4561-06012Washer #6 Insulating Nylon
48BW-001-4Ballast Weight Part Rod (Pro 4)
191772A192Screw #8-32 x 3/8" Pan Head Phillips SS
198370A011Washer #8 x 0.075" Flat SS

Steps

  1. Remove any accessories that are mounted on the float block.

  2. Turn the ROV upside down and rest it on its float block.

  3. Remove any accessories that are attached to the skid assembly.

  4. Remove the strain relief cable from the skid by removing the #8-32 x 3/8 inch Phillips head screw and #8 x 0.075" flat washer.

  5. Remove the two #6-32 X 3/4 inch Phillips head screws from the front of the skid assembly near the bottom of the front dome. Make sure to keep track of the plastic inserts.

  6. Remove the two #6-32 X 3/4 inch Phillips head screws from the rear of the skid assembly near the bottom of the rear dome. Make sure to keep track of the plastic inserts.

  7. Remove the skid assembly from the ROV.

If the video above doesn't play in your browser, click this play icon to try an alternate method: , or click this manual reference icon to view an exploded view

Tips

If the float block has been removed, it may be easier to remove the skid by replacing the float block on the ROV and turning the ROV upside down to rest flat on your workspace. Make sure there are no accessories attached to the float block.

Alternately, you can set the ROV on it's thruster nozzles to remove the front screws and on it's nose to remove the rear screws. Support the skid when removing the screws.


VideoRay Documentation Only

[ Help us improve this document ]

Pro 4 Maintenance Manual, Version: Novice 1.00.00
Copyright © 2015, VideoRay LLC - The Global Leader in Micro-ROV Technology