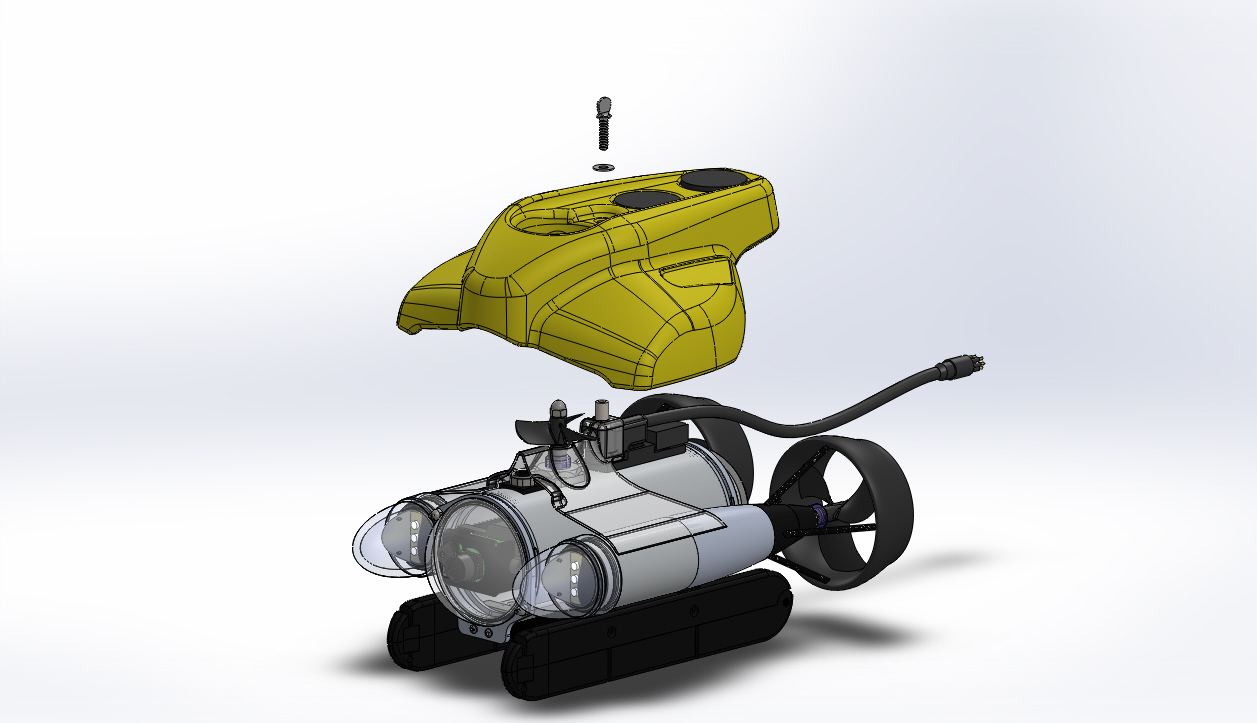
Float Block Kit Replacement Procedures

Time required for this step: Approximately 2 Minutes

Tools required for this step:

  • None

Parts involved in this step:

FB-001-KIT-P4 Float Block Kit

QuantityPart NumberPart Description
1VR-PRO4-06-0001Float Block Assembly - Filled (Pro 4)
191744A542Screw 1/4"-20 x 1" Thumb SS
192141A029Washer 1/4" x 0.05" Flat SS
2FB-PLG-ACC-KITFloat Block Assembly Insert Small

Steps

  1. Orient the float block on top of the ROV and align the large through-hole in the float block with the thruster and the small hole with the termination block stud.

  2. Place the float block in position on the ROV.

  3. Secure the float block with the 1/4-20 X 1-1/4 inch float block retaining screw and 1/4 inch washer.

If the video above doesn't play in your browser, click this play icon to try an alternate method: , or click this manual reference icon to view an exploded view

Tip

If accessories are to be attached to the ROV accessory port, it might be easier to connect them to the accessory port before the float block is replaced.


VideoRay Documentation Only

[ Help us improve this document ]

Pro 4 Maintenance Manual, Version: Novice 1.00.00
Copyright © 2015, VideoRay LLC - The Global Leader in Micro-ROV Technology