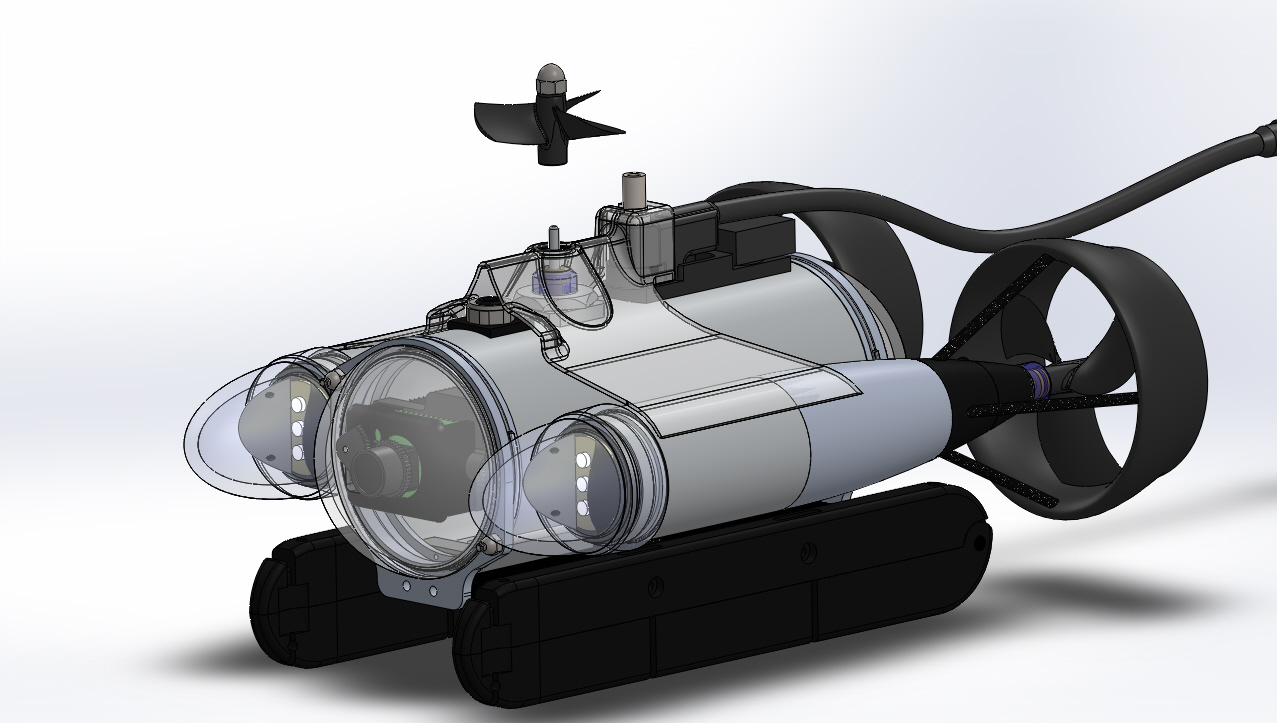
Orient the vertical propeller assembly with the open end of the propeller collet toward the vertical thruster shaft.
Press the propeller assembly onto the shaft until it stops. There should be a gap of approximately 1 mm or less between the propeller and the cartridge seal. If there is no gap, the cartridge seal may not be seated - check the cartridge seal to make sure it is fully seated. If the gap is lager than 1 mm, the propeller is not fully seated - You may need to loosen the 7/16 inch acorn nut to allow the collet to open further.
Hold the propeller assembly by its hub and tighten the 7/16 inch acorn nut. Do NOT hold the propeller by its blades while tightening the nut, because that could cause a blade to break.
If the video above doesn't play in your browser, click this play icon to try an alternate method: ,
or click this manual reference icon to view an exploded view
Tip
The vertical propeller nut has right-handed threads. Turn the nut clockwise, when viewed from the top of the ROV, in order to tighten it.
Check to make sure that the propeller turns freely.